As soon as I got into Saffron City, I made a beeline for Silph Co. since the company president was being held hostage by Team Rocket and Giovanni. There are eleven floors in the Silph Co. building with warp panels placed on the floor throughout. I could have just headed up to the fifth floor and grabbed the Card Key hidden in one of the long hallways, but I wanted to level my Pokémon a bit so I went floor by floor fighting all of Team Rocket’s henchmen. I had to leave and come back a few times to revive and heal, but it wasn’t too bad. After a series of warps, I encountered my rival Gary. He was actually pretty tough since he had a level 38 Pigeot, level 35 Alakazam, level 37 Eggexcute, level 35 Growlithe, and a level 40 Venusaur. My level 50 Blastoise made quick work of his entire party. Right next to Gary was a generous employee that decided to gift me a Lapras. He will come in handy when I get the ability to Surf. Once I healed up at the nurse on the ninth floor, it was all the way up to the eleventh floor to face Giovanni. My Blastoise obliterated all of Giovanni’s Pokémon: Nidorino, Rhyhorn, Nidoqueen, and Kangaskhan. Once I defeated Giovanni, the president of Silph Co. gifted me with a Master Ball. I saved my game and headed back outside.
I wasn’t done in Saffron City yet. I had to face Gym Leader Sabrina for the Marsh Badge. Her gym is perhaps the most annoying due to the fact that it is a warp maze made up of nine separate rooms. Her highest level Pokémon is a level 43 Alakazam, so I decided to try to head straight there since my Blastoise is sitting at level 50. The fight was super easy with only Venomoth giving me a bit of trouble. I received TM 46 (Psywave) and I’m now able to train Pokémon up to level 70. After this battle, I made my way back to the Pokémon Center to heal and save. Up next would be Routes 12-15 and afterwards Fuschia City.
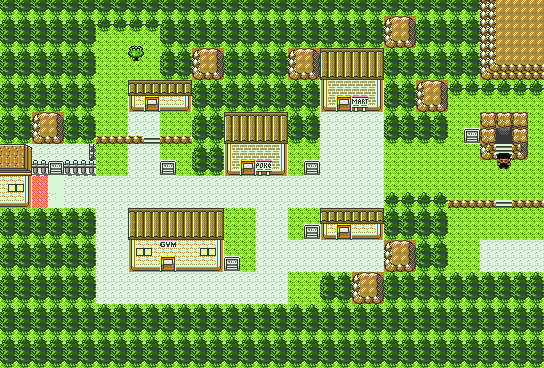
Routes 12 thru 15 and Gym Leader Koga

Well my journey along routes 12, 13, 14, and 15 were largely uneventful– that was until I got to Snorlax. The first time, I had forgotten to switch boxes on Bill’s PC so I couldn’t catch it. The second time, I accidentally knocked it out. Seems like third time was the charm and I caught it after 7 great balls. When I arrived in Fuchsia City, I immediately healed and made my way to the Safari Zone. I had decided that since this was my first playthrough, I wasn’t going to try and catch everything I needed from here right now. I would only catch the Pokemon exclusive to Blue: two Nidoran ♀(one to evolve into Nidorina and one to Nidoqueen) and a Pinsir. It took me 4 trips through the Safari Zone to catch all of the Pokémon I wanted.
In addition to spending over an hour in game time catching Pokémon in the Safari Zone, I also obtained a few key items. First, I spoke to the Fishing Guru’s older brother to get the Good Rod which should allow me to catch better Pokémon. Additionally, the warden of the Safari Zone had lost his teeth so I set off to find them while wandering the Safari Zone. I did find them and my reward was HM 04 (Strength) which will allow my Pokémon to move heavy objects. Another key find in the Safari Zone was the Secret House in Area 3. Since I was the first to find the Secret House, I won the prize of HM 03 (Surf) which will allow me to travel across water. My next step will be to head to Koga for the Soul Badge.

Koga’s gym was not too difficult. My Blastoise is now level 55 so it made quick work of the numerous trainers in the gym before I got to Koga. Koga’s team was not super difficult until I got to his final Pokemon, Weezing. It took me a few turns to knock it out and Weezing used Self-Destruct to end the battle. With my new Soul Badge, I can now use the TM Surf which will come in handy pretty soon. I made my way back to the Pokemon Center, healed up and continued my journey towards Route 16.
Generation I Living Dex Percentage: 26.49%
Generation I Living Dex Count: 39/151
National Living Dex Percentage: 6.16%
Played Time: 12 hours and 34 minutes


Leave a comment