Route 11 and Diglett’s Cave

I made my way to Route 11 to earn some money by fighting the trainers there. There is an NPC on the far end of Route 11 that will give you a device called an “Item Finder” if you have 30 Pokémon. I did not have 30 Pokémon so I didn’t bother talking to him. Route 12 is blocked by Snorlax at the moment so I have no choice but to head to Diglett’s Cave to do some backtracking. Diglett’s cave is not super long, but it allowed me to catch Diglett and Dugtrio to add to my collection. Once exiting Diglett’s Cave, I found myself on the other side of Route 2 which was previously inaccessible. I stopped at the first house on the route and picked up HM 05 Flash. Before heading to Cerulean City, in Pewter City I made sure I used Cut to reach the Secret Lab to pick up an “important specimen.” When I got to Cerulean City, I made sure to use my bike voucher and headed to the Pokémon Center. After healing up and buying some more Pokéballs, I used Cut to access Route 9.
Routes 9 & 10 and Rock Tunnel

On Routes 9 and 10 there are more opportunities to battle trainers and earn money. My battle through Route 9 was largely uneventful. Most trainers had Rock type Pokémon so my Wartortle made quick work of them. Before heading to the Pokémon Center on Route 10, I made sure to stop to catch a Voltorb. Because Rock Tunnel is completely pitch black, I would need to use HM 05 Flash to light the way so I’d need an Electric type Pokémon in my party. I chose my newly captured Voltorb and I was on my way. After healing up my team, I used Cut to access Rock Tunnel. Upon entering Rock Tunnel, I was hit with a wall of darkness– nothing my Voltorb couldn’t fix! I figured my trip through Rock Tunnel would be quick and to the point. Boy was I wrong. First, there are 15 trainers you have to battle along your way. On one hand, I earned a lot of money and was able to level some of my Pokémon, but on the other hand, it took forever. Surprisingly, I caught Onix my first try and Machop only took three Pokéballs to secure. At this point, I decided to just make my way through so I could visit a Pokécenter and heal up as well as buy some more Pokéballs. I quickly got out of there to head into Lavender Town and heal up my team.
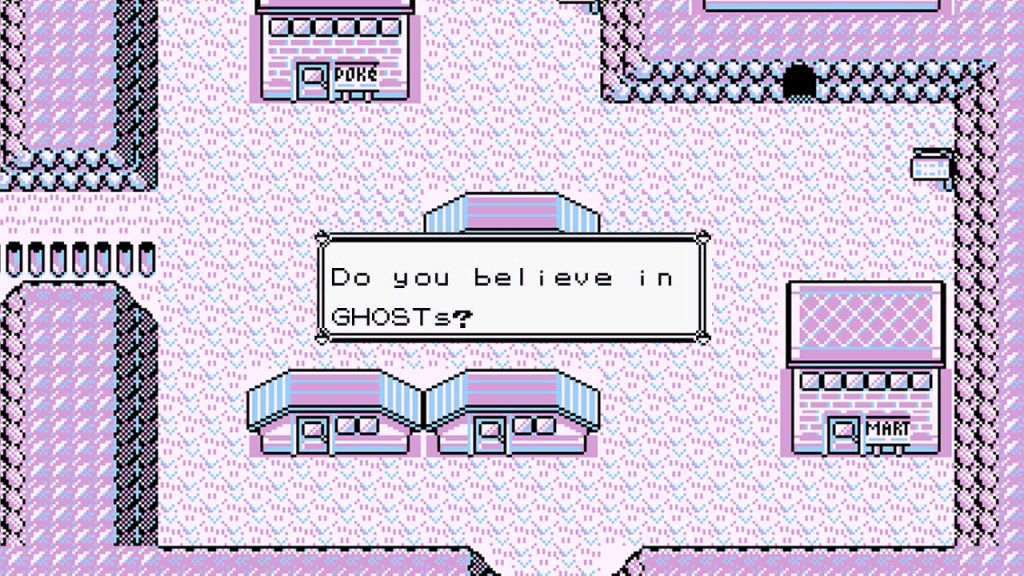
Lavender Town and Routes 7 & 8

Once I was in possession of a a Machop and Onix, I did some business in Lavender Town. There isn’t much to do here just yet– but I did restock on some Great Balls and Potions. I went into Pokémon Tower just to talk to some NPCs there. I was told in not so many words that I would need to possess a device that will enable me to see ghost Pokémon in order to continue. Once that was over, I left and headed out onto Route 8. Route 8 is scattered with trainers and while battling them is always a great money-making opportunity, I had enough cash to skip them for now. I then took the underground path to Route 7. Route 7 is tiny and there is a large patch of grass one could catch Pokémon on in before heading to Celadon City. There were no new Pokémon I needed so I took the quickest path and ended this leg of my adventure.
Celadon City

Once I arrived in Celadon City, my first stop was the Celadon Department Store. I knew that I needed to head to the vending machines on the rooftop so I could buy some water for the guard blocking the way to Saffron City. I also perused the other vendors on each floor and purchased a Fire Stone for my Eevee that I would soon obtain. I currently do not have any Fire type Pokémon on my team, so Flareon would make a good addition. On the second floor, there was a vendor that sold a variety of TMs, but there wasn’t really anything I needed in particular– I made note in case I wanted to head back later on in the game. On the rooftop at the vending machines there was a little girl running around. If you give her a drink, she gives you a specific TM depending on what drink you give her.
- Fresh Water – TM 13 Ice Beam
- Lemonade – TM 49 Tri-Attack
- Soda – TM 48 Rock Slide
I talked to her and she stated that she was thirsty, so I gave her the Lemonade I just purchased. In return, she gave me TM 49 Tri-Attack which seemed like the best option out of the three. After purchasing some Paralyze Heals and Antidotes in anticipation of my battle with Gym Leader Erika. It was now time to face my fourth Gym Leader and obtain the Rainbow Badge.
Gym Leader Erika

Gym Leader Erika has a Level 29 Victreebel, Level 24 Tangela, and a Level 29 Vileplume. Knowing this already, I intentionally evolved my Eevee into a Flareon as Fire > Grass. What is stupidly didn’t realize was that Flareon did not have any fire moves yet. We’ll see how that turns out in a bit. The three trainers before Erika were not at all difficult– I only had to run back and heal once. One I got to Erika, I used my Blastoise to nearly kill her Victreebel, but then switched to Flareon after Blastoise got hit hard with Razon Leaf. Flareon used tackle to finish off Victreebel and made quick work of Tangela. I thankfully had about 10 Super Potions to heal on my fight with Vileplume. The fight took longer than expected due to being asleep half the time, but I was eventually victorious. One defeated, Erika handed me the Rainbow Badge and TM 21 Mega Drain. I made my way back to the Pokémon Center to heal up before hitting up the Game Corner.
Game Corner
I hastily made my way to the Game Corner to try my hand at the slot machines, but had not realized that I would need a Coin Case to do so. In order to get the Coin Case, you need to go to the bar in town and talk to a guy sitting alone at a table. He’s lost everything and just wants to get rid of his Coin Case. After speaking to him, I headed back to the Game Corner. It’s important that your first time at the Game Corner, you speak to everyone playing slots as some folks give you some coins to gamble with. I was able to collect about 60 or so coins (which I promptly lost). Besides talking to NPCs, one you obtain the Item Finder, there are a variety of hidden coins shown in the picture below:

As much as I really want that Porygon, winning enough coins to buy them isn’t reasonable and instead I’ll wait until the endgame where money comes easy and just buy coins. Since 50 coins cost $1000, it will take $130,000 to buy Porygon from Pokémon Blue (they are more expensive in Red and Yellow). There is more to the Game Corner than just slot machines though and I decide to talk to the Team Rocket-looking dude staring at the poster on the wall. A battle ensued and after winning, I discover a switch behind the poster which opens a secret door. Here we go– another “dungeon” of sorts. The bottom four floors of the Game Corner are not particularly difficult– just tedious. The music is also my least favorite out of all the game’s music. I battled my way through as many trainers as I could reach as I knew that it would make my way back out later on much easier. The second and third floor have a conveyor belt maze sort of thing but it’s not too difficult and I was able to make my way through on my first try.

My first goal was to obtain the “Lift Key” so I could use the elevator to make it to the bottom floor to fight Giovanni and get the Silph Scope. By the time I reached the one trainer that held the key, most of my Pokémon had fainted or were about to. In true fashion, Blastoise saves the day and I beat the Team Rocket member and get the Lift Key. One I picked that up I used an Escape Rope to go heal before I took on the rest of Team Rocket and Giovanni. One I was back, the two Team Rocket members outside Giovanni’s door were pretty easy to take on– they had Ekans, Arbor, and Koffing to contend with. Giovanni was even easier as he had mostly Rock Pokémon– Blastoise made quick work of them and I had obtained the Silph Scope. I went back to the Pokémon Center and healed up before heading back to Pokémon Tower.
Pokémon Tower

With Silph Scope in hand it was back to Lavender Town and the Pokémon Tower. My party was healed and I was determined to have Cubone’s mom pass on peacefully into the afterlife. The Pokémon Tower is no joke kids. It’s seven floors of not just random Pokémon encounters, but you will also have trainer battles with the possessed Channelers that are placed throughout the tower. You will weave your way through a maze of Pokémon graves on each level. I stopped at the Pokémart to stock up on some Great Balls and entered the tower. Throughout the tower, there were a few items I wanted to get– specifically a Nugget and a Rare Candy. The first floor was a breeze and I made my way up the steps to floor two. Right as I got up the stairs, I ran into my rival Gary. His team had a level 25 Pigeotto, a level 23 Gyrados, a level 22 Growlithe, a level 20 Kadabra, and his level 25 Charmeleon. My level 41 Blastoise made quick work of his entire team.

While methodically making my way floor by floor, I was able to catch a Cubone and Gastly pretty easily. I did not encounter a single Haunter, but we’ll be back next time. I ran away from most battles, but the few I did fight were done with Blastoise and Body Slam. On the fifth floor there is a panel on the floor that serves as a spot to heal your team. I took advantage of this right away as I was quickly running out of PP for Body Slam. Right before I ascended the stairs to the seventh floor, the ghost of Cubone’s mother appeared. I used the Silph Scope and she passed over peacefully and I was able to make my way up. On the seventh floor, there were three Rocket trainers I had to defeat before I could get to Mr. Fuji. None of these trainers were difficult. I used Blastoise the whole time to mostly one-shot the variety of Zubats and Golbats. When I met Mr. Fuji, he was thankful for my help. He had come to the Pokémon Tower to fight Team Rocket as they tried to steal the Cubone to exploit its powers. Team Rocket kidnapped Mr. Fuji and held him hostage. As a gift of thanks, Mr. Fuji gave me a Pokéflute which will allow me to wake the Snorlax that was blocking my way previously. He also so generously teleported me to his home afterwards and it was time for me to heal up and head onto the next stop: Saffron City.
Current Progress
Generation I Living Dex Percentage: 16.56%
Generation I Living Dex Count: 25/151
National Living Dex Percentage: 3.85%
Played Time: 8 hours and 16 minutes


Leave a comment